Welcome to American Health Data Services (AHDS') Customer Service. Choose from the options below according to the area you need assistance.
XHub VPN Services Configuration
Using industry standard IPSec VPN tunnels, AHDS can help your organization make fast, reliable connections to the right information at the right time.

Connecting to the AHDS XHub Network from an individual computer using your broadband Internet connection requires additional software to setup and manage the connection. We support the following IPSec software packages:
FortiClient - Windows
IPSecuritas - Mac OS X
STEP 1
Download the FortiClient VPN for Windows installation client from their website.
Important!!! Scroll down the page for the VPN version of Forticlient.
FortiClient VPN Software Download

STEP 2
Save the FortiClient VPN client for Windows to your computer.
STEP 3
Once downloaded, launch the FortiClient VPN Installer.
STEP 4
Follow install instructions for a standard install. You will get a desktop icon for FortiClient VPN.
STEP 5
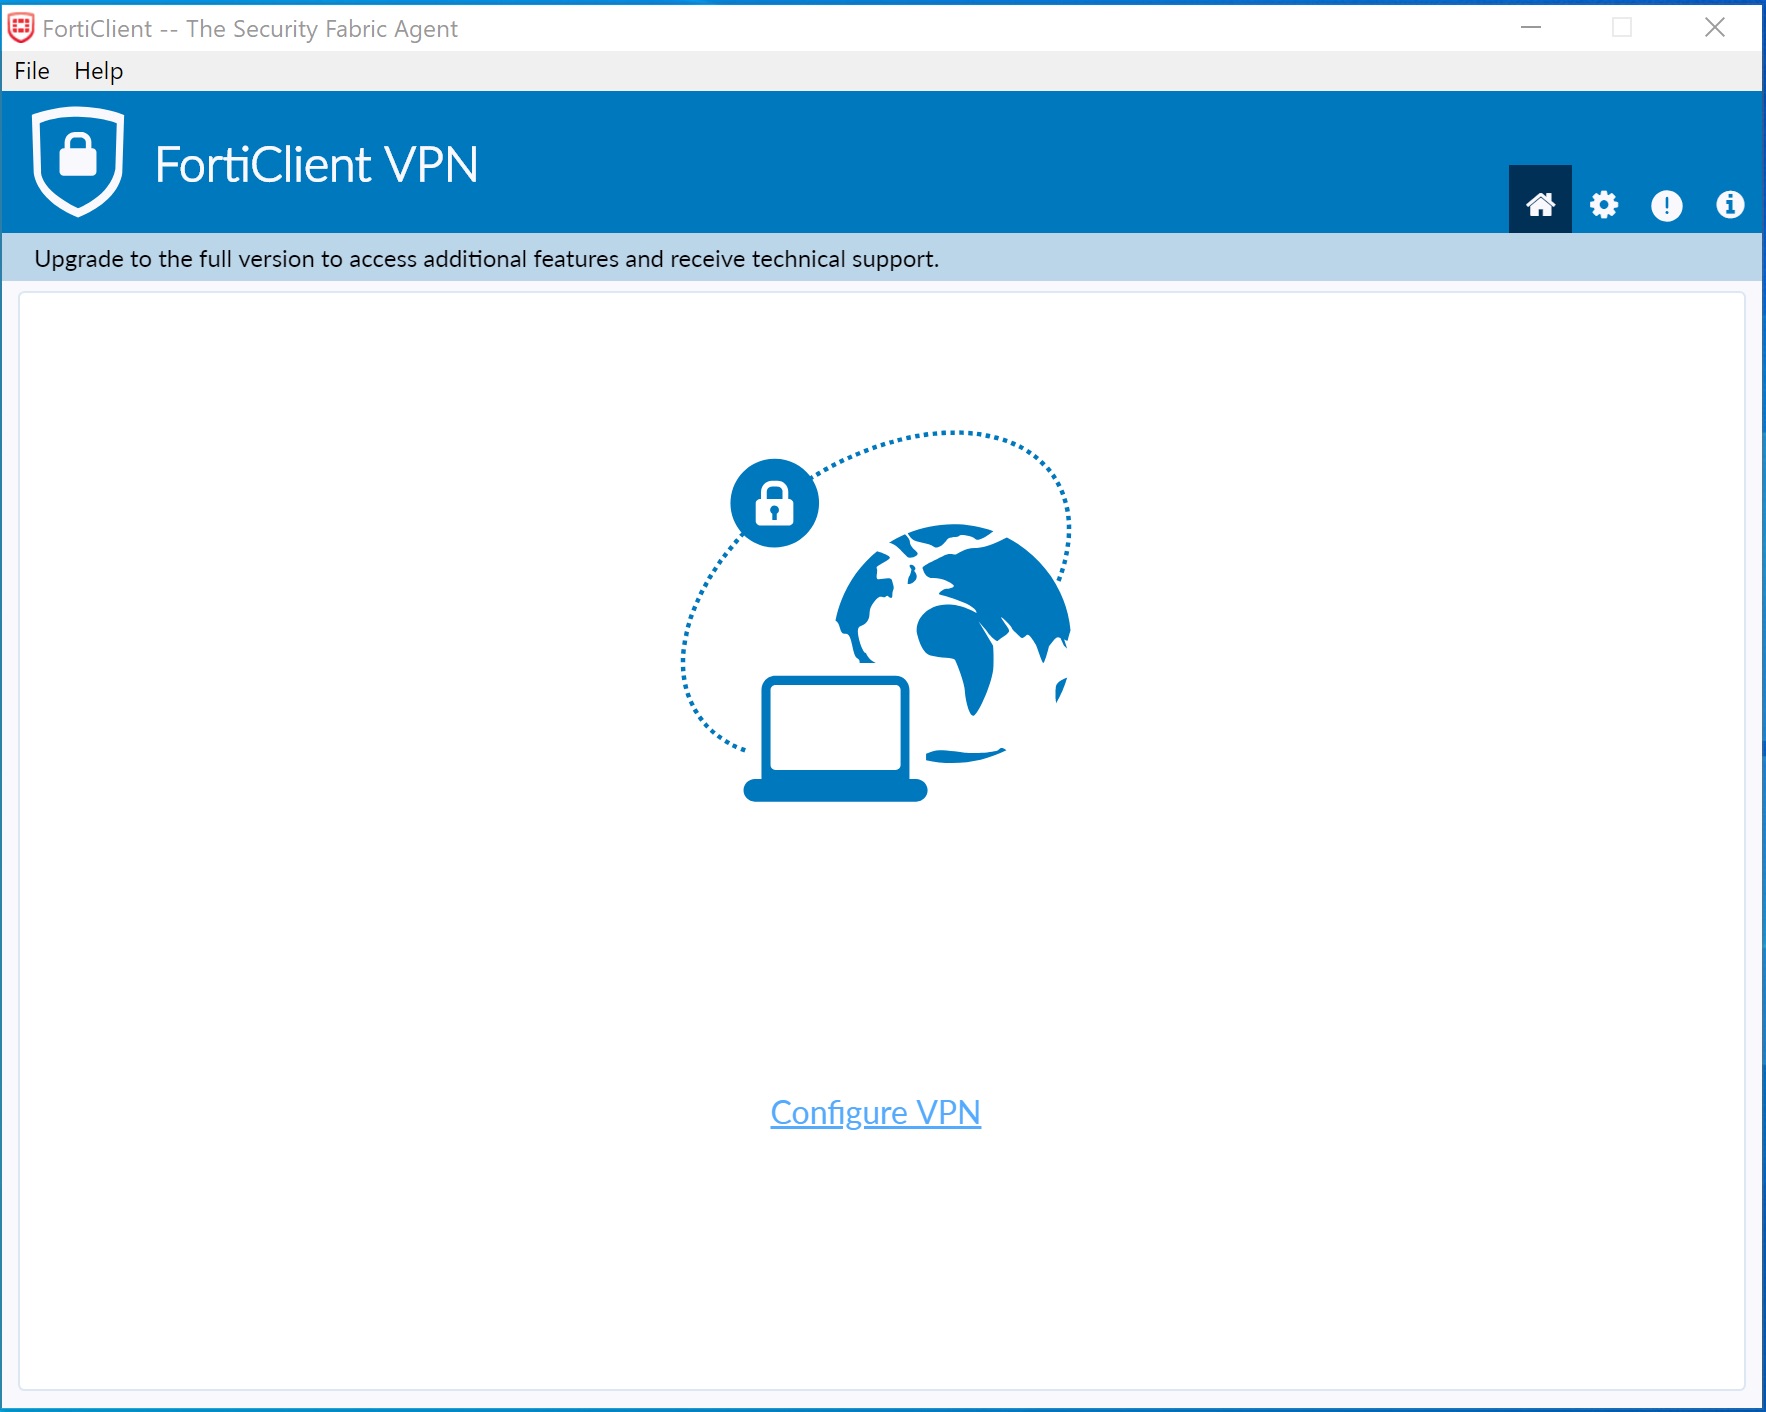
Open FortiClient to main screen
STEP 6
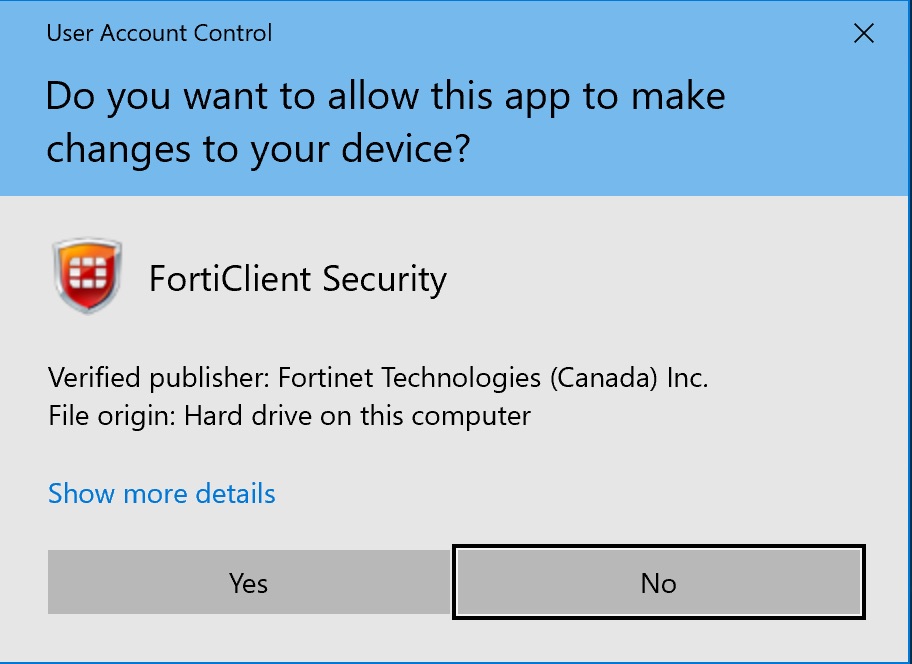
Unlock Configure - this enables configuration restoration and will require Administrator approval.
STEP 7
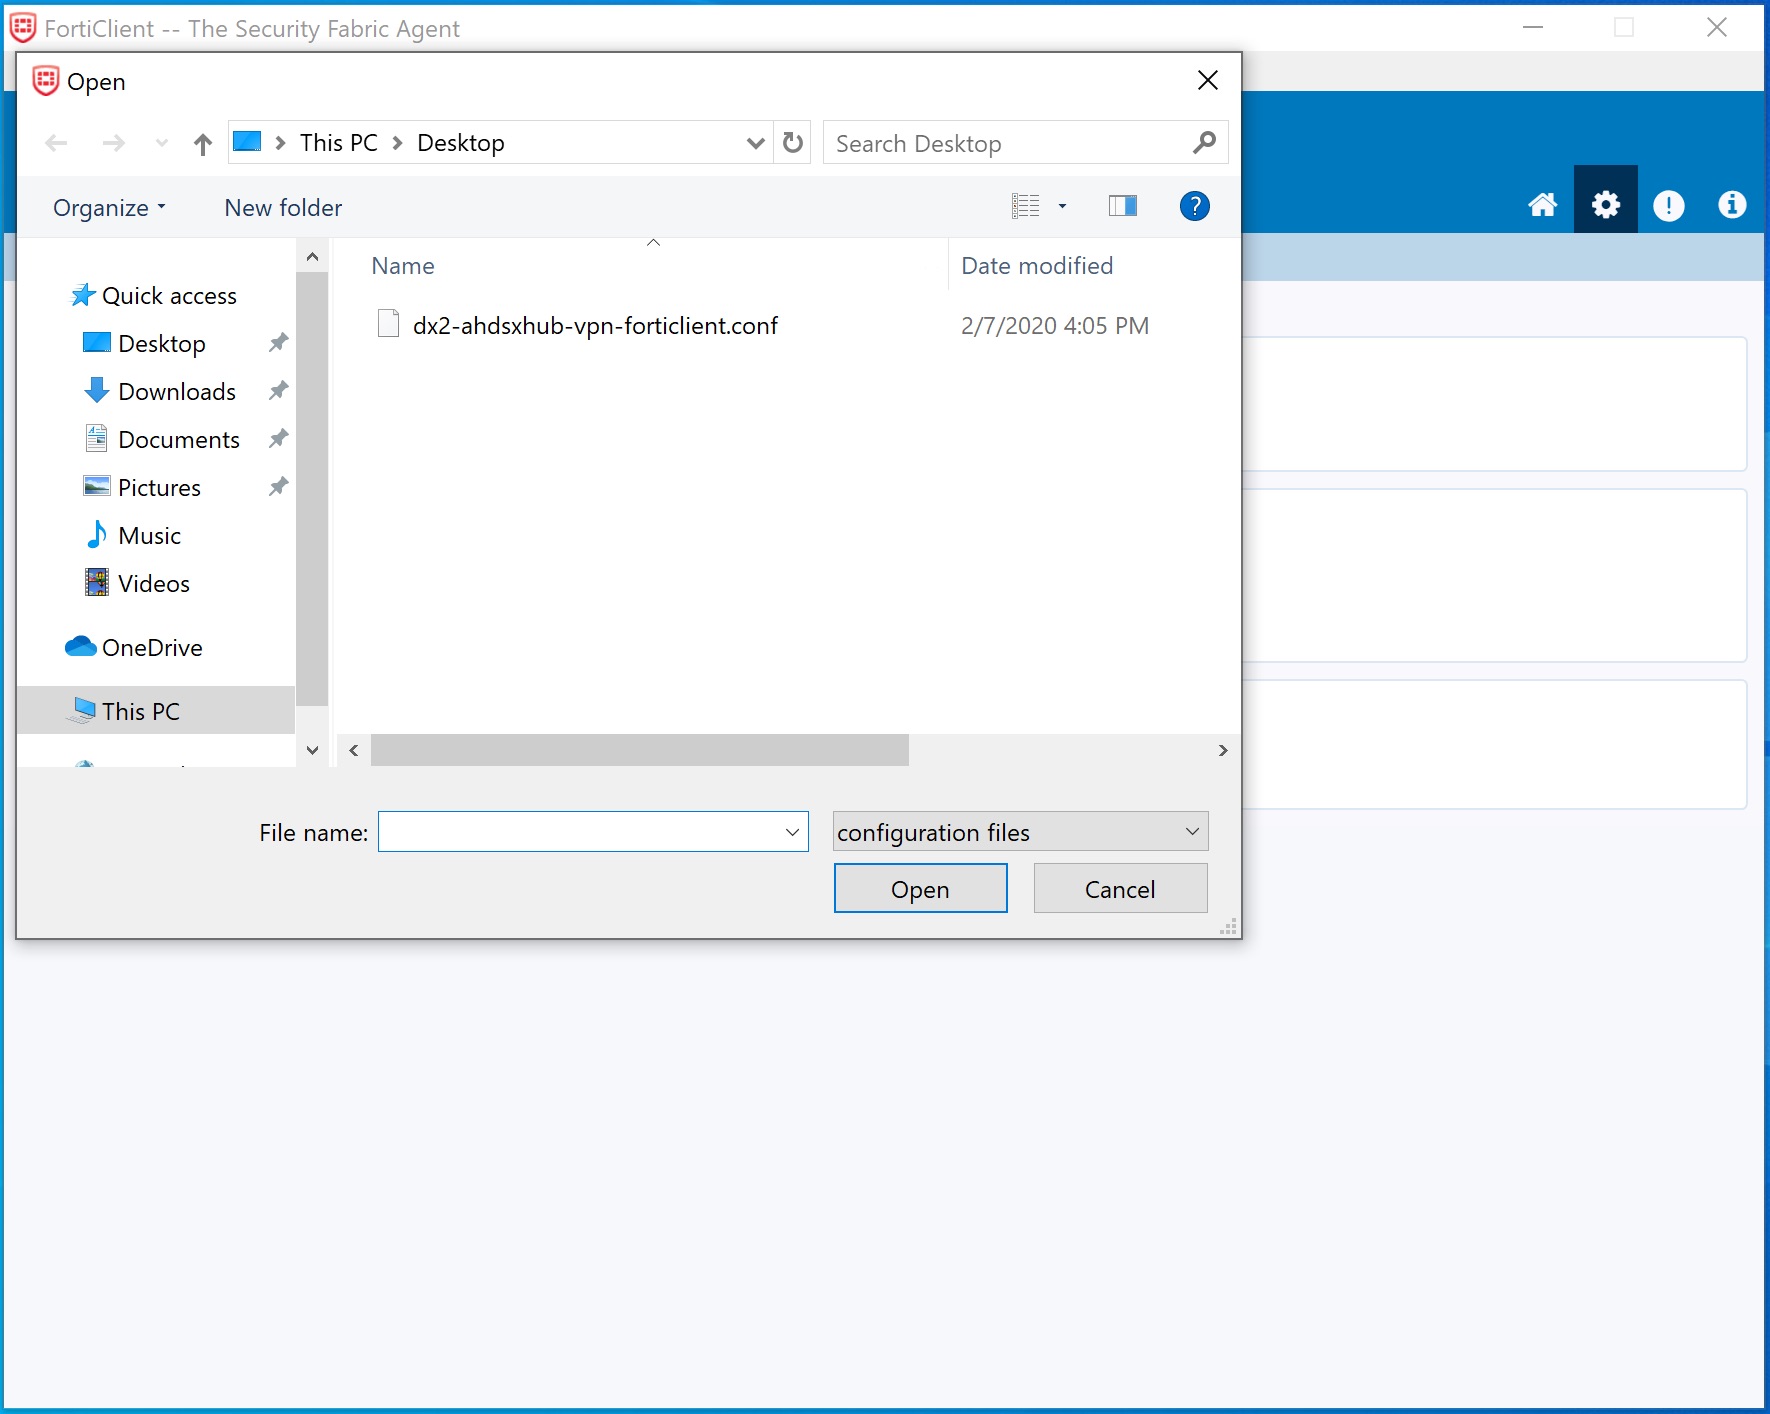
Import configuration by Restore. - Click Gear icon in toolbar, then click the Restore button...
STEP 8
Select the configuration file that you should have downloaded using the link in the email that was sent to you.
STEP 9
Click OK to Execute configuration Restore.
STEP 10
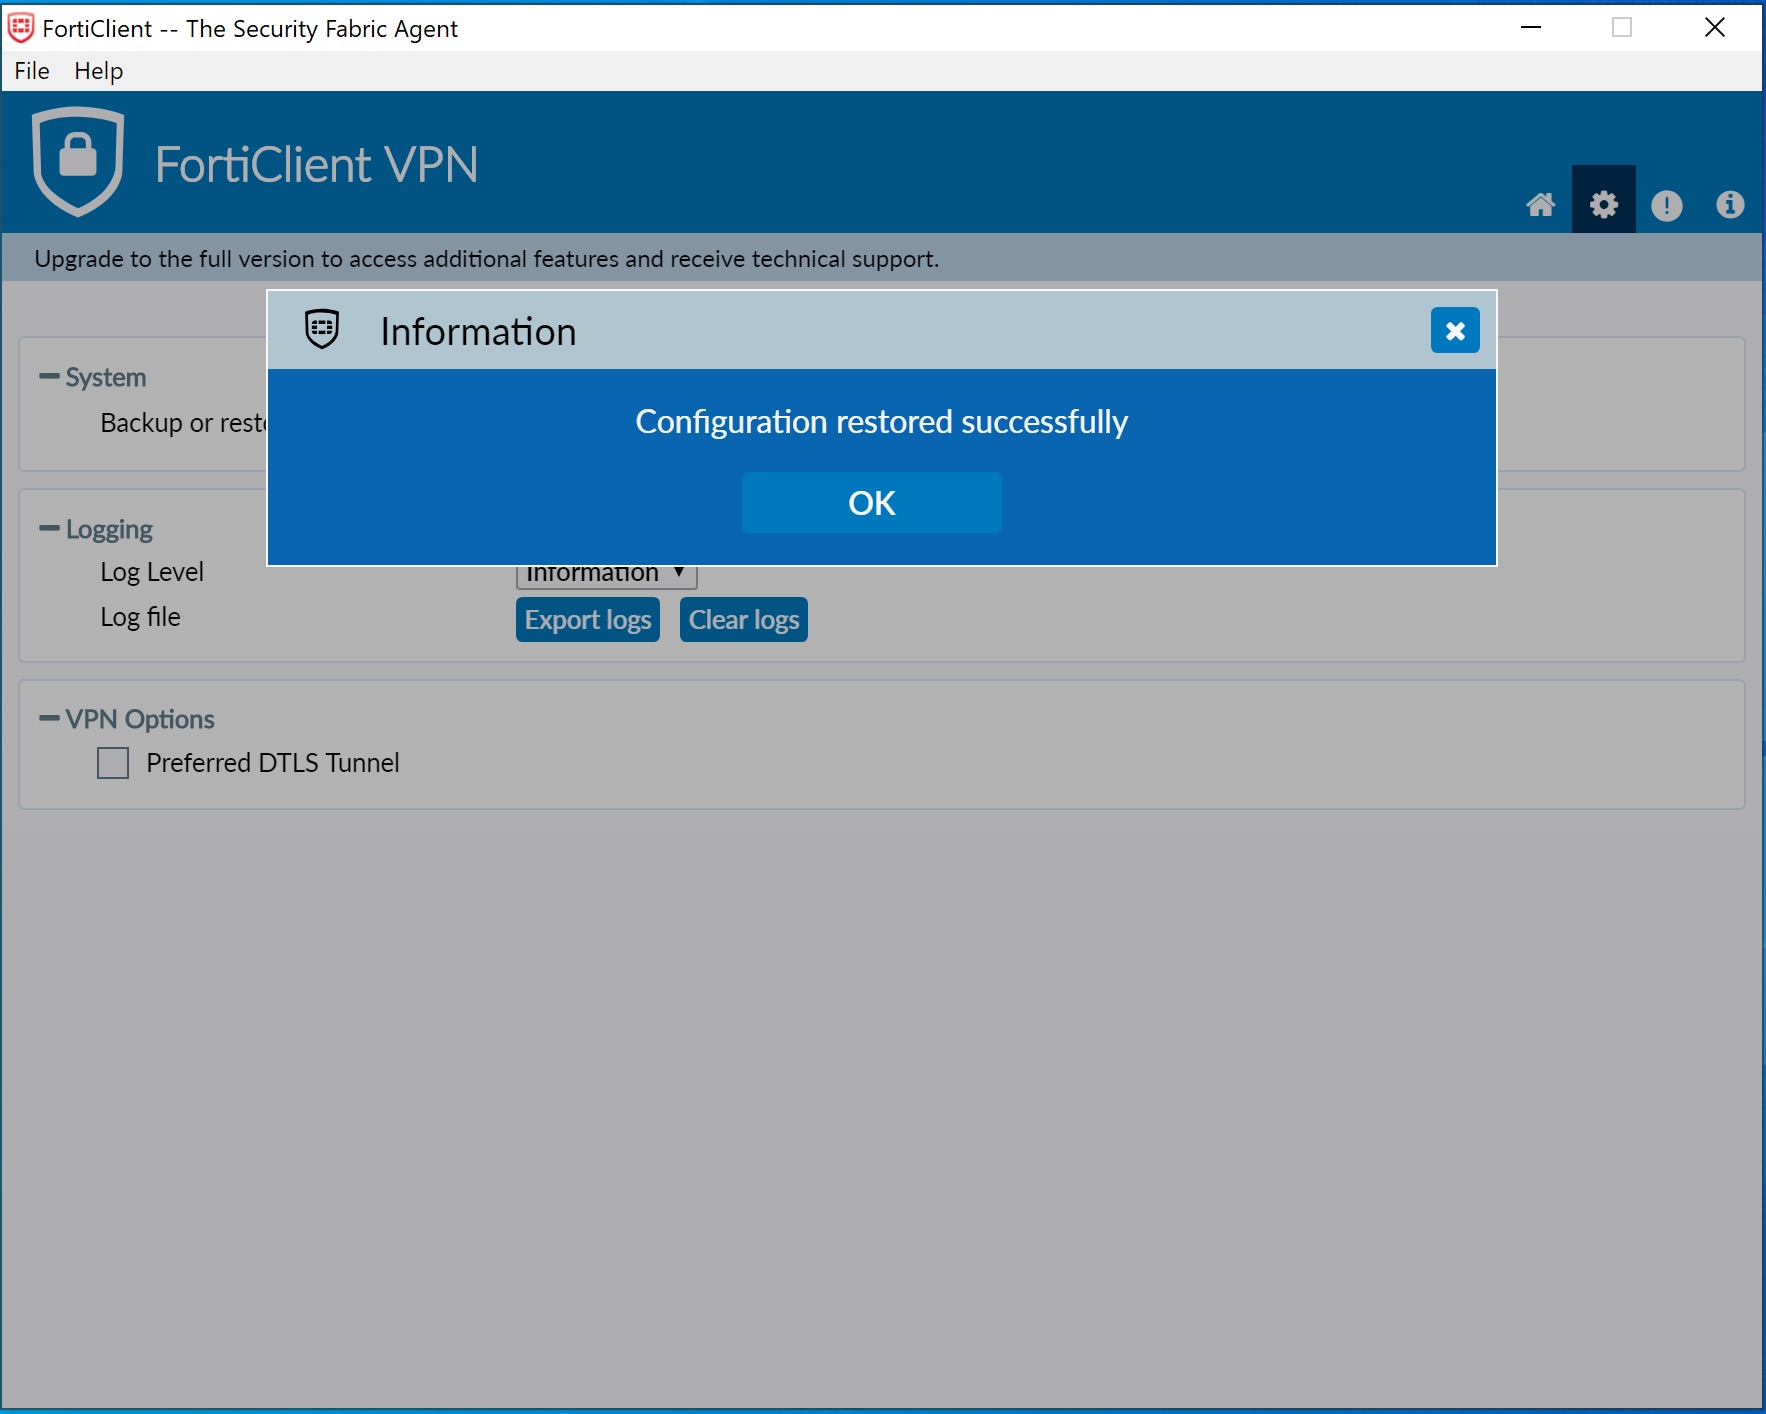
After a few seconds, a Success message should appear
STEP 11
Click the Home button in the toolbar and you should see the AHDS XHub connection ready to go.
Enter the username and password sent to you via email and click Connect.
‹ ›
STEP 1 & 2
Download the IPSecuritas software and run the Installer package.
Create a New Profile named AHDS-XHub Connections menu -> Edit Profiles.
IPSecuritas Software Download 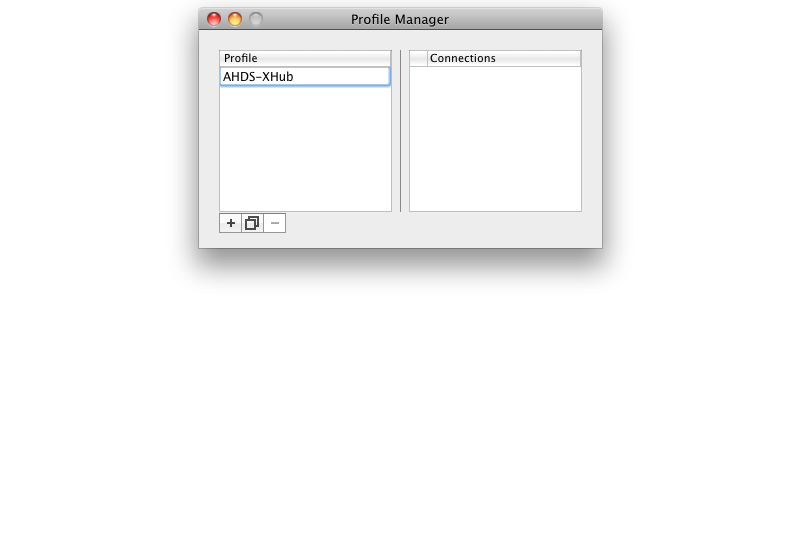
STEP 2
On the General tab and enter the following settings:
- Remote IPSec Device: Enter VPN Parameter: Remote Device ex: dx2.ahdsxhub.com
- Local Side: leave at "Host", leave IP Address blank
- Remote Side: select "Network" from the popup menu
- Network Address: Enter VPN Parameter: Network Address ex: 100.64.47.0
- Network Mask: Enter VPN Parameter: Network Mask ex: 24

STEP 3
Click on the Phase 1 tab and enter the following settings:
- Lifetime: 28800 seconds
- DH Group: 1536 (5)
- Encryption: AES 256
- Authentication: SHA-1
- Exchange Mode: Agressive
- Proposal Check: Obey
- Nonce Size: 16

STEP 4
Click on the Phase 2 tab and enter the following settings:
- Lifetime: 3600 seconds
- PFS Group: 1536 (5)
- Encryption: Uncheck all but AES 256
- Authentication: Uncheck all but HMAC SHA-1

STEP 5
Click on the ID tab and enter the following settings:
- Local Identifier: Select "User FQDN" and enter VPN Parameter: Tunnel ID into the field that appears: ex: dvpn1@xhub.ahds.com
- Remote Identifier: Address
- Authentication Method: XAuth PSK
- Preshared Key: Enter VPN Parameter: Preshared Key
- Username: Enter VPN Parameter: Username
- Store Password: If you click the checkbox another field will appear that you can use to store: VPN Parameter: Password, however we suggest you do not store your password for security reasons; you will need to enter it when you connect.

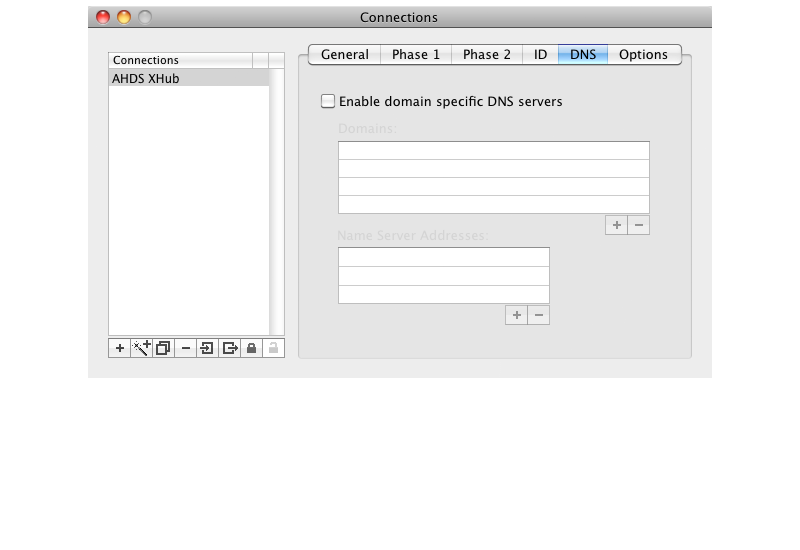
STEP 6
Leave the DNS tab blank:
STEP 8
Click on the Options tab and leave everything at the defaults except:
- Enable MODE_CFG: Checkbox on
- Local IP in Remote Network: Checkbox on
- NAT-T: Select "Enable" from the popup menu

STEP 7
The VPN configuration is now complete.
Close the Connections window and click the Start button on the IPSecuritas window.
When the tunnel connection starts up and completes, you can now make connections to your endpoints for DDE 3270 or Claims FTP.

‹ ›
If you already have your own IPSec client software here are the base parameters for the tunnel:
Phase 1
- Remote IPSec Device: Enter VPN Parameter: Remote Device ex: dx1.ahdsxhub.com
- Preshared Key: Enter VPN Parameter: Preshared Key
- Exchange Mode (Initiator): set to "Aggressive"
- Enable NAT-Traversal
- Proposal:
- Lifetime: 28800 seconds
- DH Group: 1536 (Group 5)
- Encryption: AES 256
- Authentication: SHA-1
- Proposal Check: Obey
- Nonce Size: 16
Phase 2
- Local Proxy ID: set to "Host" or 255.255.255.255/32
- Remote Proxy: set to "Network" with VPN Parameter: Network Address ex: 100.64.47.0 and Network Mask: Enter VPN Parameter: Network Mask ex: 24
- Proposal:
- Lifetime: 3600 seconds
- DH Group: 1536 (Group 5)
- Encapsulation: ESP
- Encryption: AES 256
- Authentication: SHA-1
Identification
- Local ID: type: "User FQDN", value: VPN Parameter: Tunnel ID
- Remote ID: type: "Address"
- Auth Method: XAuth with PresharedKey
- Username: Enter VPN Parameter: Username
- Password: Use: VPN Parameter: Password
AHDS support will have provided a set of configuration parameters including a username and password to allow you to connect to the XHub Network.
Please contact us if you have any trouble getting connected.


